Table of Contents
- What Clinical Grade Cleaning Means for Medical Facilities
- Cleaning vs. Disinfection: Why the Distinction Matters
- A Healthcare Facility Cleaning Checklist You Can Actually Use
- Choosing Healthcare Surface Disinfectants That Fit Your Surfaces
- Reusable Patient-Care Equipment Cleaning Done Right
- Medical Office Cleaning Best Practices for Daily Operations
- How to Verify Cleaning Quality and Meet Disinfection Standards
- Frequently Asked Questions
Last Updated: October 21, 2026
What Clinical Grade Cleaning Means for Medical Facilities
Clinical grade cleaning is a documented, risk-based process that removes and kills pathogens on surfaces and reusable equipment in healthcare settings, using approved products, trained staff, and verified procedures.
Medical facilities are not offices with exam tables. A missed bed rail or a reused blood pressure cuff can move microorganisms from one patient to the next, and clinical grade cleaning for medical facilities exists to break that chain.
Three elements separate it from standard janitorial work:
- Scope: environmental surfaces, high-touch surfaces, and reusable patient-care equipment
- Products: hospital-grade disinfectants matched to the surface and the pathogen
- Proof: checklists, contact time discipline, and quality checks
Get any one wrong and the whole program weakens. Below, we break down each piece so you can build or audit a program that holds up.
Cleaning vs. Disinfection: Why the Distinction Matters
Cleaning removes soil and microorganisms; disinfection kills most of what remains. You need both, in that order, a disinfectant applied to a visibly soiled surface will not work as intended, because soil shields pathogens and can neutralize the active ingredients.
This is where many programs fail. Staff spray and wipe in one motion, then move to the next room. That is cleaning, not disinfection.
Here is how the two steps differ in practice:
| Step | What It Does | Typical Products | Common Mistake |
|---|---|---|---|
| Cleaning | Lifts soil, dust, and organic matter | Surface cleaners, microfiber | Skipping it before disinfecting |
| Disinfection | Kills most pathogens on a clean surface | Hospital-grade disinfectants | Wiping before contact time is met |
Follow the product label for dilution, contact time, and safe handling. Those instructions are the standard, not a suggestion. For guidance on environmental cleaning principles, the Public Health Agency of Canada infection prevention and control guidance is a useful starting point.
A Healthcare Facility Cleaning Checklist You Can Actually Use
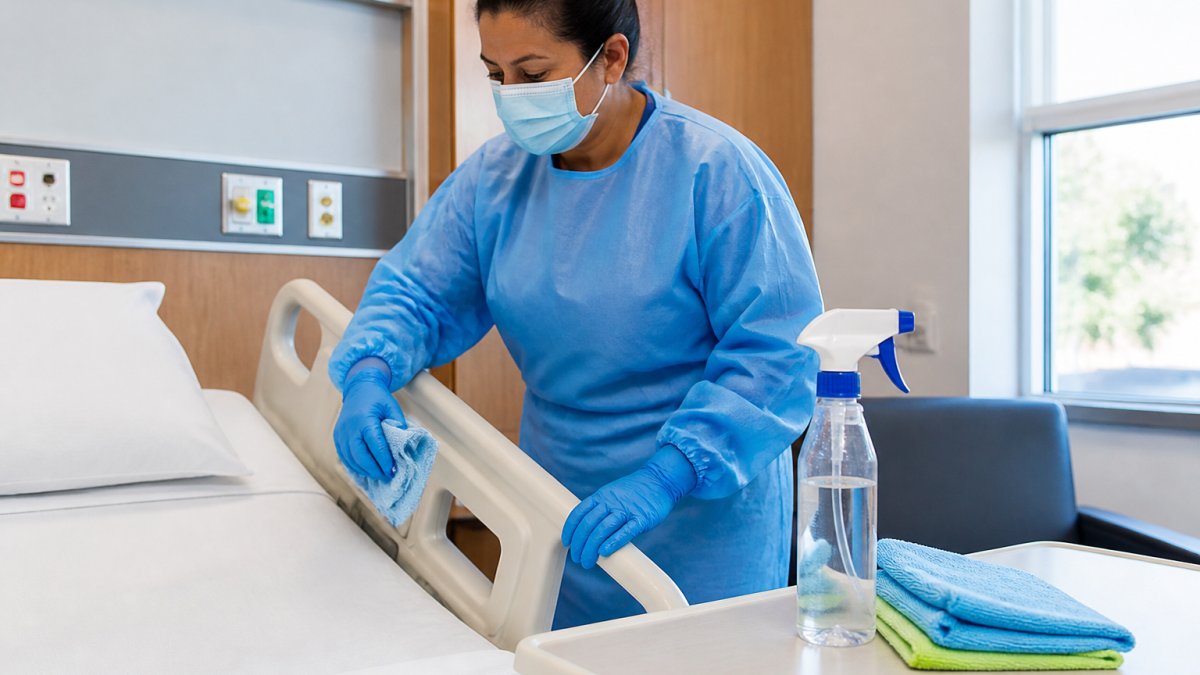
A healthcare facility cleaning checklist works when it is sequenced, area-specific, and short enough to finish on a busy shift.
Before you enter the room
- Confirm the room's status: routine discharge clean, terminal clean, or enhanced clean after a precautionary patient
- Assemble supplies for that room only, fresh cloths, fresh mop head, correct disinfectant at the correct dilution
- Put on clean PPE; remove and replace PPE between rooms
Work top to bottom, clean to dirty
- Start at the highest touchpoints and work down: privacy curtain ties, overbed light switch, call button, bed rails, then the mattress deck
- Clean visibly soiled surfaces first with an approved cleaner; do not disinfect over soil
- Apply disinfectant to high-touch surfaces and leave it wet for the full label contact time, set a timer if staff tend to wipe early
Shared and reusable equipment in the room
- Wipe stethoscope, blood pressure cuff, thermometer, and pulse oximeter between every patient, not once per shift
- Check the device manufacturer's instructions for approved chemicals before spraying anything on a housing or screen
- Store cleaned equipment separately from dirty equipment, a labeled bin or shelf is enough
After the room
- Remove PPE in the correct order and perform hand hygiene
- Discard or launder cloths and mop heads per your facility policy; never carry a used cloth into the next room
- Replenish soap, paper towels, and hand sanitizer
Area-specific add-ons
- Waiting rooms: high-touch check-in counters, armrests, door handles, and shared pens or tablets; frequency should be higher than exam rooms because turnover is uncontrolled.
- Exam rooms: bed rails, exam table, otoscope and ophthalmoscope handles, and the computer keyboard and mouse.
- Procedure areas: all of the above plus procedure lights, carts, and any surface the clinician touches with gloved hands.
The log is the part most facilities skip, and the part that proves your program ran. Pair it with a simple room map, and review completed logs weekly to spot rooms consistently signed off late or not at all.
Choosing Healthcare Surface Disinfectants That Fit Your Surfaces
Healthcare surface disinfectants must match three things: the pathogen you are targeting, the surface material, and how the product is used. A product that destroys a pathogen but damages equipment is not a good choice.
Start with the label: it lists active ingredients, registered pathogens, required contact time, and safe handling instructions. Quaternary ammonium compounds are common in healthcare disinfectants, but some plastics and device housings react badly to certain chemicals.
Use this selection approach:
- List your surfaces. Separate hard, non-porous surfaces from sensitive medical devices.
- Check compatibility. Confirm the product is approved for that material before use.
- Match the pathogen. Choose a disinfectant registered for the organisms you actually face.
- Confirm contact time. Pick a product your staff can realistically leave wet long enough.
- Weigh ready-to-use vs. concentrate. Ready-to-use products reduce mixing errors; concentrates cost less per litre but demand careful dilution.
Reusable Patient-Care Equipment Cleaning Done Right
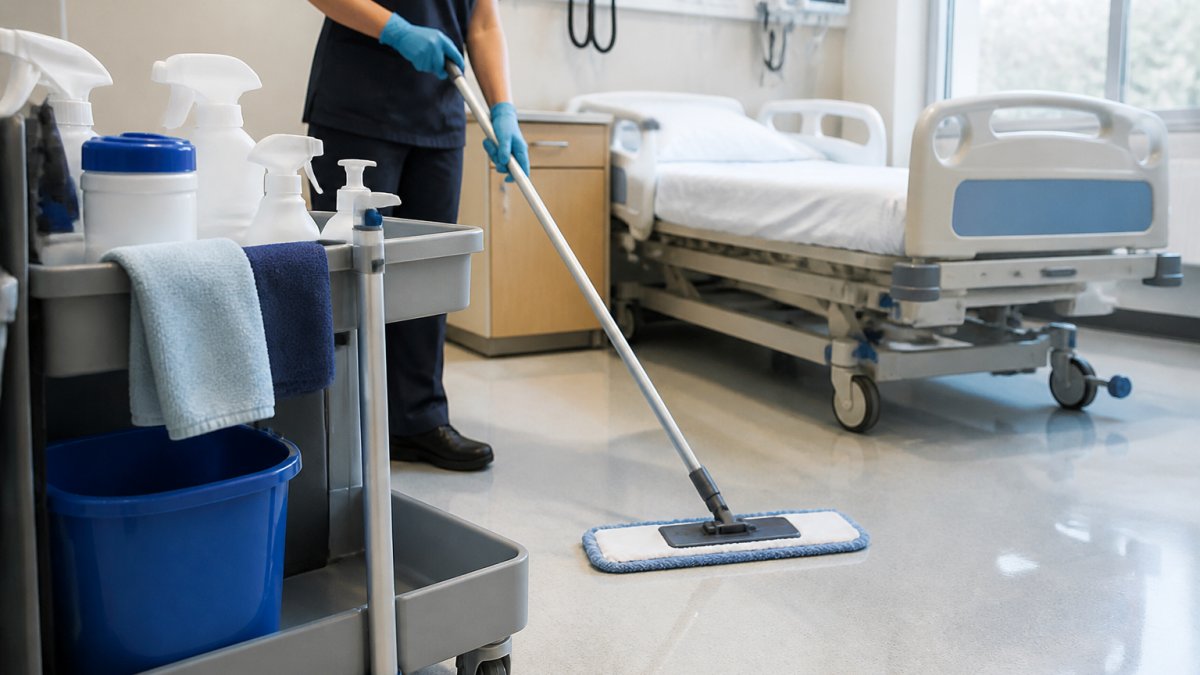
Reusable patient-care equipment needs cleaning and disinfection between every patient, not just at end of day.
The safe workflow is consistent:
- Put on clean PPE.
- Clean visible soil first with an approved cleaner.
- Apply the correct disinfectant for the equipment material.
- Allow full contact time.
- Store the item clean and dry, separate from dirty equipment.
Shared equipment is the quiet risk. A cuff used across ten patients in a morning is a cross-contamination pathway if it is never wiped.
For reusable medical devices, always follow the manufacturer's cleaning instructions, some tolerate only specific chemicals, and the wrong one can degrade seals, screens, or coatings.
Medical Office Cleaning Best Practices for Daily Operations
Medical office cleaning best practices come down to routine, training, and scheduling that respects patient flow. A program only works if it fits the day your staff actually has.
- Set a routine cleaning schedule and stick to it. Daily tasks for high-touch surfaces, deeper work weekly.
- Train staff on procedures and safe handling. Cover PPE use, dilution, and contact time.
- Schedule around patients. Clean high-traffic areas before opening or after close.
This is where a bonded, trained team makes a real difference. Master Cleaning builds customized cleaning plans around each facility's hours, so clinical spaces get the attention they need without disrupting patient care.
How to Verify Cleaning Quality and Meet Disinfection Standards
Verifying cleaning quality means checking the work, not assuming it happened, a log entry only proves someone wrote on a form. A credible program uses at least two verification methods that check different things, because no single method proves a surface is safe.
What each verification method can and cannot show
| Method | What it can show | What it cannot show |
|---|---|---|
| Visual inspection | Visible soil, dust, and missed edges; damaged surfaces that cannot be cleaned | Whether pathogens were killed, or whether a surface was touched at all |
| Fluorescent marker | Whether a marked high-touch point was physically wiped during the clean | Whether the correct disinfectant was used, or whether contact time was met |
| ATP testing | Whether organic soil and microbial residue remain on a surface after cleaning | Whether specific pathogens are present, or whether the surface is sterile |
| Log and audit review | Whether tasks were scheduled, assigned, and completed on time | Whether the task was done correctly |
| Staff observation | Whether contact time, dilution, and PPE steps are followed in practice | Whether the whole facility was covered on every shift |
Most practitioners find fluorescent markers and ATP swabs the most useful pair: the marker proves the touchpoint was reached, and the ATP swab proves the surface was actually cleaned. Neither replaces visual inspection or correct product use.
A simple verification routine
- Pick a sample, not a showroom. Choose rooms at random, including rooms cleaned on the busiest shift.
- Mark before the clean. Apply fluorescent marker to agreed high-touch points before staff enter, then check after.
- Swab after the clean. Take ATP readings on the same points and record the number, not just pass or fail.
- Set a pass threshold and stick to it. Review results monthly and compare by room type and by shift.
- Retrain on failure, do not just re-clean. A failed room is a process signal; re-cleaning hides the cause.
Risk-based cleaning frequency by area
Verification only makes sense against a stated frequency. The table below is a starting framework, not a regulation, confirm against your provincial health authority's requirements and your facility's infection prevention and control policy.
| Area | High-touch surfaces | Floors | Shared equipment |
|---|---|---|---|
| Waiting room | Multiple times per day, at minimum at opening, midday, and close | Daily, plus spot cleaning | Wipe shared pens, tablets, and armrests between peak periods |
| Exam room | Between every patient, plus end-of-day | Daily, plus between patients if soiled | Wipe between every patient |
| Procedure area | Between every patient, plus enhanced clean after any precautionary case | Daily, plus between procedures if soiled | Wipe between every patient; follow device instructions |
| Washroom | Multiple times per day | Multiple times per day | Not applicable |
| Shared mobile equipment (carts, pumps, monitors) | At each point of use | Weekly, plus when visibly soiled | Wipe between patients and log |
Meeting the standards
For current disinfection and infection control standards, refer to Health Canada guidance on disinfectants and your provincial health authority's requirements.
Standards evolve, so review your program at least annually and whenever a product, device, or room use changes. Keep the verification records, they are the evidence your program ran as written, and the first thing an auditor will ask for.
Frequently Asked Questions
What is the difference between cleaning and disinfecting in a medical facility?
Cleaning removes visible soil, dust, and organic matter from a surface using soap or detergent and water. Disinfecting follows cleaning and kills microorganisms on that surface using a Health Canada-approved product. Disinfection works poorly on a surface that has not been cleaned first, because dirt and body fluids shield pathogens from the active ingredients. Clinical grade cleaning for medical facilities always pairs the two steps in that order: clean, then disinfect, then allow the product's full contact time before the surface is used again.
How often should high-touch surfaces be cleaned in a healthcare setting?
High-touch surfaces such as door handles, light switches, bed rails, call buttons, and shared keyboards should be cleaned and disinfected at least daily, and more often in exam rooms, treatment areas, and waiting rooms with heavy traffic. Many facilities set a schedule of twice daily or after every patient interaction in clinical zones. Risk-based frequency works best: list each area, note how often it is touched and by whom, and set the interval from there. Document the schedule so staff and managers can confirm each round was completed.
How should reusable patient-care equipment be cleaned and disinfected?
Follow the manufacturer's instructions for each device, since some items tolerate only specific healthcare surface disinfectants. Remove visible soil first, apply the approved product, and leave it wet for the full contact time on the label. Items like blood pressure cuffs, stethoscopes, and commodes need cleaning between patients, while other shared equipment may need a documented schedule. Store cleaned items separately from dirty ones to prevent cross-contamination, and train staff on which items are single-use only.
What should a medical facility cleaning checklist include?
A practical healthcare facility cleaning checklist covers each room type, the surfaces in it, the product approved for that surface, and the frequency. Include high-touch surfaces, washroom fixtures, floors, reusable equipment, and waiting area furniture. Add a sign-off column so staff record when each task was done, plus a spot for supervisor verification. Review the checklist quarterly and whenever a product or device changes, and keep completed sheets on file as part of your quality assurance records.
Clinical grade cleaning for medical facilities is not a bigger version of office cleaning. It is a documented system of approved products, trained staff, and verified results. If your practice needs a partner who can deliver that reliably, Master Cleaning brings bonded and insured staff, customized cleaning plans, green-certified products, and regular inspections backed by a 100% satisfaction guarantee. Contact us to build a clinical cleaning plan around your facility's schedule and standards.